Macros are a great way to provide shortcuts to important or frequently used functions within your workbook. In your assessment, you are required to create a button that has a macro that automates the printing of the spreadsheet.
Before being able to assign a macro, you will need to create it. In your excel workbook, you need to record a macro applying the format you want so you have a saved copy of that macro. The Record Macro function is found in the Developer tab of your worksheet.
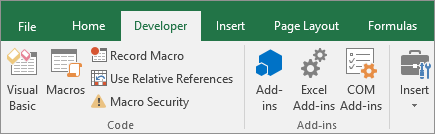
When you click on
Record Macro the following window will pop up:
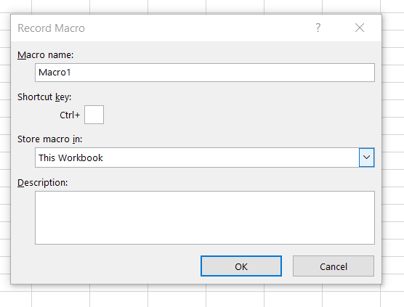
- You will need to enter the name of the macro (often explains the function e.g. PRINT).
- You can choose to include a shortcut key (any letter you would like but often preset shortcuts like C, B, or Z as they will be overridden by this new shortcut).
- You can choose if you would like to store the macro in this specific Workbook (This Workbook) or have it available for any Workbook (Personal Macro Workbook).
- Finally, you can add a description explaining the purpose of the macro.
Then click OK.
You will now need to perform the function of the macro.
Once you have completed performing the function go to the Developer tab and click Stop Recording.
You are now ready to assign the macro to the shape.
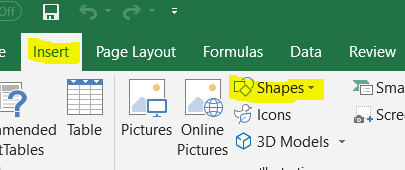
- First, you need to insert the shape of the button and a title.

- Right-click on the shape and select Assign Macro.
- Select the Macro and click OK.
- When you hover the mouse over the shape the pointer should change to a hand.